As a supplier of short mink lashes, I've witnessed firsthand the transformative power these lashes can have on one's appearance. They add a touch of elegance, drama, and a natural flutter that enhances the eyes like no other. However, attaching them properly is crucial to achieving that seamless, beautiful look. In this blog post, I'll share some expert tips and techniques on how to attach short mink lashes like a pro.
Understanding Short Mink Lashes
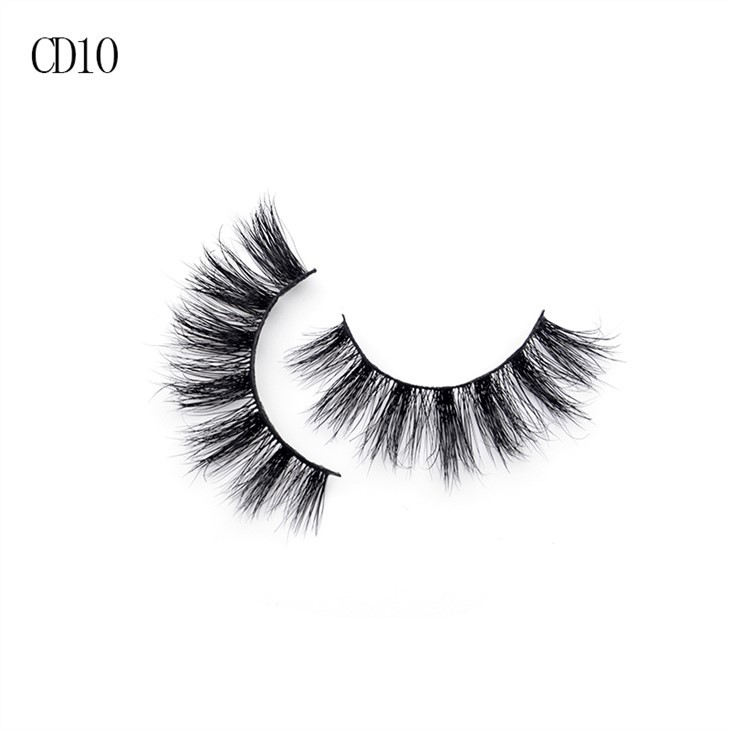
Before we dive into the application process, let's take a moment to understand what short mink lashes are. Mink lashes are made from real mink fur, which gives them a soft, natural look and feel. Short mink lashes are typically shorter in length compared to regular mink lashes, making them ideal for those who prefer a more subtle, everyday look. They are also lighter in weight, which means they are more comfortable to wear for extended periods.
When choosing short mink lashes, it's important to consider the shape, length, and curl of the lashes. The shape of the lashes should complement your eye shape, while the length and curl should enhance your natural lashes. For example, if you have round eyes, you may want to choose lashes that are longer on the outer corners to create a more almond-shaped look. If you have straight lashes, you may want to choose lashes with a more dramatic curl to add volume and definition.
Preparing Your Eyes and Lashes
The first step in attaching short mink lashes is to prepare your eyes and lashes. Start by removing any makeup from your eyes, including mascara, eyeliner, and eyeshadow. You can use a gentle makeup remover and a cotton pad to clean your eyes thoroughly. Make sure to remove all traces of makeup, as any residue can prevent the lashes from adhering properly.
Next, trim the lashes to fit your eye shape. Most short mink lashes come in a standard length, which may be too long for your eyes. To trim the lashes, place them on your eyelid and measure where they need to be trimmed. Use a pair of sharp scissors to trim the lashes from the outer corner, making sure to leave a small gap at the inner corner. This will ensure that the lashes fit comfortably on your eyelid and don't touch the inner corner of your eye.
Once you've trimmed the lashes, it's time to apply the lash glue. Choose a high-quality lash glue that is specifically designed for use with mink lashes. Apply a thin layer of glue along the lash band, making sure to cover the entire length of the band. Be careful not to apply too much glue, as this can make the lashes look clumpy and uneven.
Attaching the Lashes
Now that your eyes and lashes are prepared, it's time to attach the lashes. Using a pair of tweezers, carefully pick up the lashes by the outer corner and place them on your eyelid. Start by placing the inner corner of the lashes close to the inner corner of your eye, making sure to align the lash band with your natural lash line. Gently press the lashes onto your eyelid, starting from the inner corner and working your way out to the outer corner. Use your fingers to hold the lashes in place for a few seconds to allow the glue to dry.
Once the lashes are in place, use a pair of lash curlers to curl your natural lashes and the false lashes together. This will help to blend the lashes and create a more natural look. Make sure to curl the lashes gently, as excessive curling can damage the lashes and cause them to fall out.
Finishing Touches
After attaching the lashes, it's time to add some finishing touches. You can use a small amount of mascara to blend the false lashes with your natural lashes. Apply the mascara from the base of the lashes to the tips, making sure to coat both the false lashes and your natural lashes. This will help to create a more seamless look and make the lashes appear more voluminous.
You can also use a pair of eyelash scissors to trim any stray lashes that may be sticking out. This will help to give the lashes a more polished and professional look.

Tips and Tricks
Here are some additional tips and tricks to help you attach short mink lashes properly:
- Practice makes perfect: Attaching short mink lashes takes practice, so don't be discouraged if you don't get it right the first time. Keep practicing, and you'll eventually get the hang of it.
- Use a mirror: Using a mirror can help you see what you're doing and ensure that the lashes are attached properly. Make sure to use a well-lit mirror to get a clear view of your eyes.
- Be patient: Attaching short mink lashes can take some time, so be patient and take your time. Rushing the process can result in uneven or poorly attached lashes.
- Choose the right lashes: Make sure to choose short mink lashes that are the right length, curl, and shape for your eyes. This will help to ensure that the lashes look natural and enhance your appearance.
- Store the lashes properly: When you're not wearing the lashes, store them in a clean, dry place. You can use a lash case or a small container to keep the lashes organized and protected.
Conclusion
Attaching short mink lashes properly is an art form that requires practice and patience. By following these tips and techniques, you can achieve a beautiful, natural look that enhances your eyes and makes you feel confident and glamorous. Remember to choose high-quality lashes, use a good lash glue, and take your time when attaching the lashes. With a little practice, you'll be able to attach short mink lashes like a pro in no time.
If you're interested in purchasing short mink lashes or have any questions about our products, please don't hesitate to contact us. We'd be happy to help you find the perfect lashes for your needs and provide you with any additional information you may need.
References
- "How to Apply False Eyelashes," Healthline, https://www.healthline.com/health/beauty-skin-care/how-to-apply-false-eyelashes
- "The Ultimate Guide to Mink Lashes," Byrdie, https://www.byrdie.com/guide-to-mink-lashes-4778401
- "How to Choose the Right False Eyelashes," Allure, https://www.allure.com/story/how-to-choose-false-eyelashes