

As a supplier of Color DIY Lashes, I've witnessed firsthand the transformative power of these unique beauty accessories. They allow individuals to express their creativity and enhance their natural beauty in a way that traditional lashes simply can't. One of the most common questions I receive from customers is how to adjust the length of Color DIY Lashes to achieve the perfect look. In this blog post, I'll share some tips and techniques based on my experience in the industry.
Understanding the Basics of Lash Length
Before we dive into the adjustment process, it's important to understand the role of lash length in creating different looks. Longer lashes tend to make the eyes appear larger and more dramatic, while shorter lashes provide a more natural and subtle effect. When choosing the length of your Color DIY Lashes, consider your eye shape, personal style, and the occasion for which you're wearing them.
For example, if you have almond-shaped eyes, you can experiment with a variety of lengths to enhance your natural shape. Longer lashes on the outer corners can create a cat-eye effect, while shorter lashes in the inner corners can add depth. On the other hand, if you have round eyes, using longer lashes in the center and shorter lashes on the sides can help to elongate your eyes.
Tools You'll Need
To adjust the length of your Color DIY Lashes, you'll need a few basic tools:
- Sharp Scissors: Invest in a pair of sharp, precision scissors specifically designed for cutting lashes. Dull scissors can cause the lashes to fray or break unevenly, resulting in a less polished look.
- Lash Applicator: A lash applicator can help you hold the lashes in place while you cut them, making the process easier and more precise.
- Tweezers: Tweezers can be useful for removing any stray lashes or adjusting the position of the lashes after cutting.
Step-by-Step Guide to Adjusting Lash Length
Now that you have the necessary tools, let's walk through the step-by-step process of adjusting the length of your Color DIY Lashes:

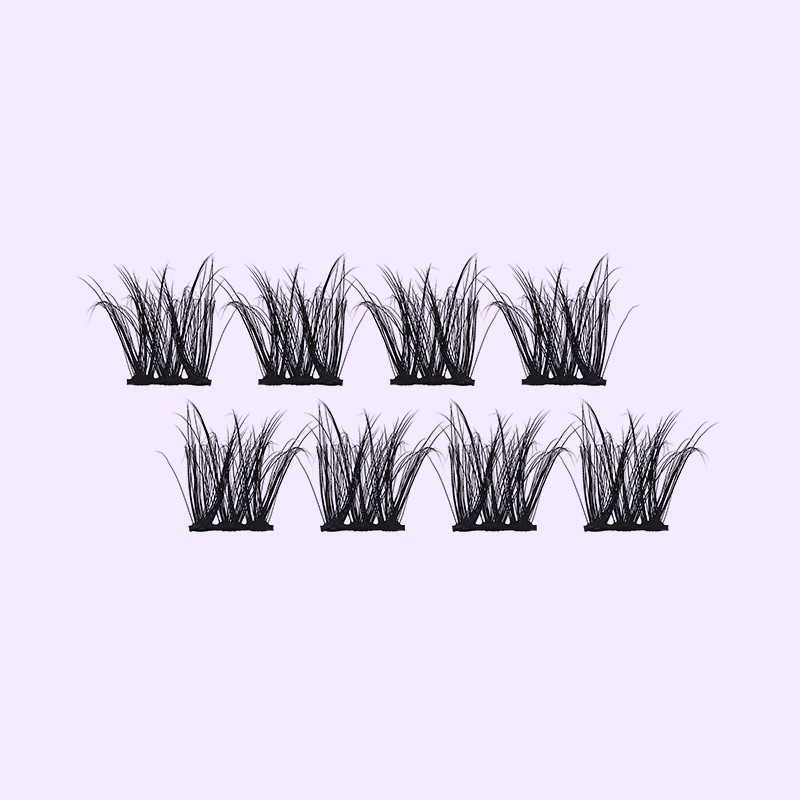
Step 1: Measure the Lashes
Before you start cutting, it's important to measure the lashes to ensure they fit your eye shape. Place the lashes on your eyelid without any adhesive and align them with your lash line. Trim the excess length from the outer and inner corners of the lashes so that they fit snugly along your lash line.
Step 2: Mark the Desired Length
Once you've determined the correct length for your lashes, use a small piece of tape or a marker to mark the desired length on the lashes. This will help you stay on track and ensure that you cut the lashes evenly.
Step 3: Cut the Lashes
Using your sharp scissors, carefully cut the lashes along the marked line. Make sure to cut the lashes in a straight line and avoid cutting too close to the lash band, as this can cause the lashes to fall apart.
Step 4: Trim the Lash Band
After you've cut the lashes to the desired length, you may need to trim the lash band to fit your eye shape. Use your scissors to carefully trim the excess length from the outer and inner corners of the lash band.
Step 5: Adjust the Lash Density
If you find that the lashes are too thick or too sparse after cutting, you can adjust the lash density by removing or adding individual lashes. Use your tweezers to carefully remove any unwanted lashes or add additional lashes to the lash band.
Step 6: Apply the Lashes
Once you've adjusted the length and density of the lashes, it's time to apply them to your eyelid. Apply a thin layer of lash adhesive to the lash band and wait a few seconds for the adhesive to become tacky. Then, use your lash applicator to carefully place the lashes on your lash line, starting from the inner corner and working your way out to the outer corner.
Tips and Tricks for Adjusting Lash Length
- Start with a Longer Length: It's always better to start with a longer length of lashes and trim them down to the desired length. This way, you can avoid cutting the lashes too short and having to start over.
- Cut the Lashes in Small Increments: When cutting the lashes, it's best to make small, incremental cuts rather than trying to cut them all at once. This will help you achieve a more precise and even cut.
- Use a Mirror: Using a mirror can help you see the lashes more clearly and ensure that you're cutting them evenly. Make sure to use a well-lit mirror for the best results.
- Practice Makes Perfect: Adjusting the length of Color DIY Lashes takes practice, so don't be discouraged if you don't get it right on the first try. Keep practicing and experimenting with different techniques until you find the method that works best for you.
Conclusion
Adjusting the length of Color DIY Lashes is a simple and effective way to customize your look and achieve the perfect fit. By following the tips and techniques outlined in this blog post, you can easily adjust the length of your lashes to suit your eye shape, personal style, and the occasion. Remember to use sharp scissors, measure the lashes carefully, and cut them in small increments for the best results.
If you're interested in purchasing Color DIY Lashes or have any questions about our products, please don't hesitate to contact us. We'd be happy to help you find the perfect lashes for your needs and provide you with any additional information you may need.
References
- "How to Cut Eyelash Extensions." Eyelash Extension Training, 2023, https://www.eyelashextensiontraining.com/how-to-cut-eyelash-extensions/.
- "DIY Lash Extensions: A Step-by-Step Guide." Byrdie, 2023, https://www.byrdie.com/diy-lash-extensions-4778173.
- "Color DIY Lashes: Express Your Creativity." Allure, 2023, https://www.allure.com/story/color-diy-lashes.